Saturday, 20 April 2019

Oar locks and collars

I hadn't thought when I bought them that the oarlocks might not fit over the square looms! So then what?

They may have fit if I had soaked them in boiling water first and then tried to force them over the handle end. But until I had carried out my plan, I didn't know how soft the hot water would make the plastic; I had low expectations. So I cut the oarlocks, on the outer, upper part of their curve, hoping to open them enough to get the small part of the oar, where the loom meets the blade, into the oarlock. First I tried heating the plastic with a hair dryer, but the cut wouldn't open far enough.

That's when I tried the boiling water trick, and it worked really well. A few minutes in a cup of hot water made the plastic very pliable. Afterwards, I taped the cut closed by squeezing the two sides together (shoulda taken pics), wrapped a piece of glass cloth saturated with epoxy around the cut part, and then draped some carbon fibres over that.


It doesn't look great, and the epoxy isn't sticking to the plastic, but I'm expecting the shape of the sleeve alone to hold it together. It's not a high-stress part of the oarlock.


The collars were made with a wrapping of braided nylon line. The ends of each line were fastened to the oar with square copper tacks. The wrapping was coated with epoxy, with a dab of thickened epoxy on each tack head. (The oarlock cannot get past the bulge, so no buttons are needed on these collars.)

After the epoxy on the collars hardened, it was sanded with 40-grit, leaving them a bit fuzzy, since the nylon fibres don't shear off, but stand up. That gives them a soft feel. I expect it will mean that rowing will be a bit quieter. For sure, the oars will be very strong in that area!

I plan to carry a pair of open-top oarlocks in the boat. If the present oarlocks fail miserably, I can always use those instead, and cut these off.


Friday, 12 April 2019

Cockpit paint

The proprietor of the shop, John Booth, died suddenly and unexpectedly this week, so I'm putting in more time in order to get my project done so the shop can be cleared out.

The decks have been installed with Sikaflex and #10 screws. Notice the seatbelt webbing tie-down on the forward hatch.

I've masked the areas on the seats that I want to remain bright, and the rest of the cockpit is getting a couple coats of primer before it gets painted.


Varnish!

I wasn't going to leave any of the mahogany plywood "bright", but it happened anyway. I had used up the leftover resin from putting things together to seal the plywood, intending to paint over it all. Trouble was, it was unwaxed resin and I couldn't sand it without gumming up and throwing out sandpaper, so I put some waxed resin on top.

When I saw how nice the wood looked bright, I decided I didn't want to paint it! At least, the decks and the seat tops.

The decks were varnished on the bench and set on the boat for someplace to put them while the varnish dried.


The tape on the gunnels was to keep the varnish that was leaking through the screw holes in the decks from getting on the gunnels.


Sunday, 31 March 2019

Flipped!

Two coats of red on the topsides now:
Not ideal. The epoxy didn't come out as smooth as wanted, and it wasn't very sandable, so it's a bit rough. It is what it is. Definitely not popped out of a mold!


Friday, 29 March 2019

Painted red!

Don't know why I put the exclamation mark on the post title.

Anyway, yes, first coat of red paint on the topsides:
So the bottom and bilge planks have three coats of semi-gloss white, the topsides two white and now one red. One more coat of red to go. I think I have just enough red paint left over from the kayak.

On the "bench" on the right in the photo below are some of the bits and pieces that are also getting painted, since the weather has warmed somewhat. It helps to be up by the roof of an uninsulated building on a sunny day—until it gets too hot in the summer!
On the bench, from right to left: aft hatch cover, lower leeboard guard, rudder head, upper leeboard guard (the slot). Then it's paint and painting stuff, with the foam cache behind it.


Wednesday, 20 March 2019

First exterior paint

John suggested sealing the outside of the hull with epoxy rather than polyester resin, so I decided to use WEST Special Clear hardener with John's 105 resin.

I like the result:


The yard and the boom are beside the boat. I've started putting what hopefully will be many coats of Helmsman spar varnish on them.

Then, today, the big day of first paint!


I'm using Petit Easypoxy semi-gloss white. The topside plank will be Interlux Brightside glossy red, same as the last two boats.

The plan is to put another coat of white on the sides before the red goes on. I believe that a colour painted over white is more brilliant, and I like a brilliant red. The rest of the white might be three coats total.


Sunday, 17 March 2019

More bottom

Some advice for a boat builder (and note to self):
Never use glass mat on the outside of your boat if you want it smooth, unless you're a sucker for punishment! 👊

My second mistake was to use unwaxed resin. Third mistake was to not just follow up with waxed resin simple, to fill in the low spots. Instead, I followed up with waxed resin with microballoons in it, which didn't settle into the low spots and had to be sanded. 

After a lot of sanding and throwing out sandpaper that was gummed up by the unwaxed resin that I sanded into, I then used Polyfair to fill in the low spots. More sanding produced a fairly even surface, but nothing like cloth would have.

I should have instead used epoxy and glass fabric, which lies flat and smooth. The rationale for the mat was that it supposedly sticks to wood better than fabric with polyester resin. Epoxy sticks better, and woven fabric makes it stronger.

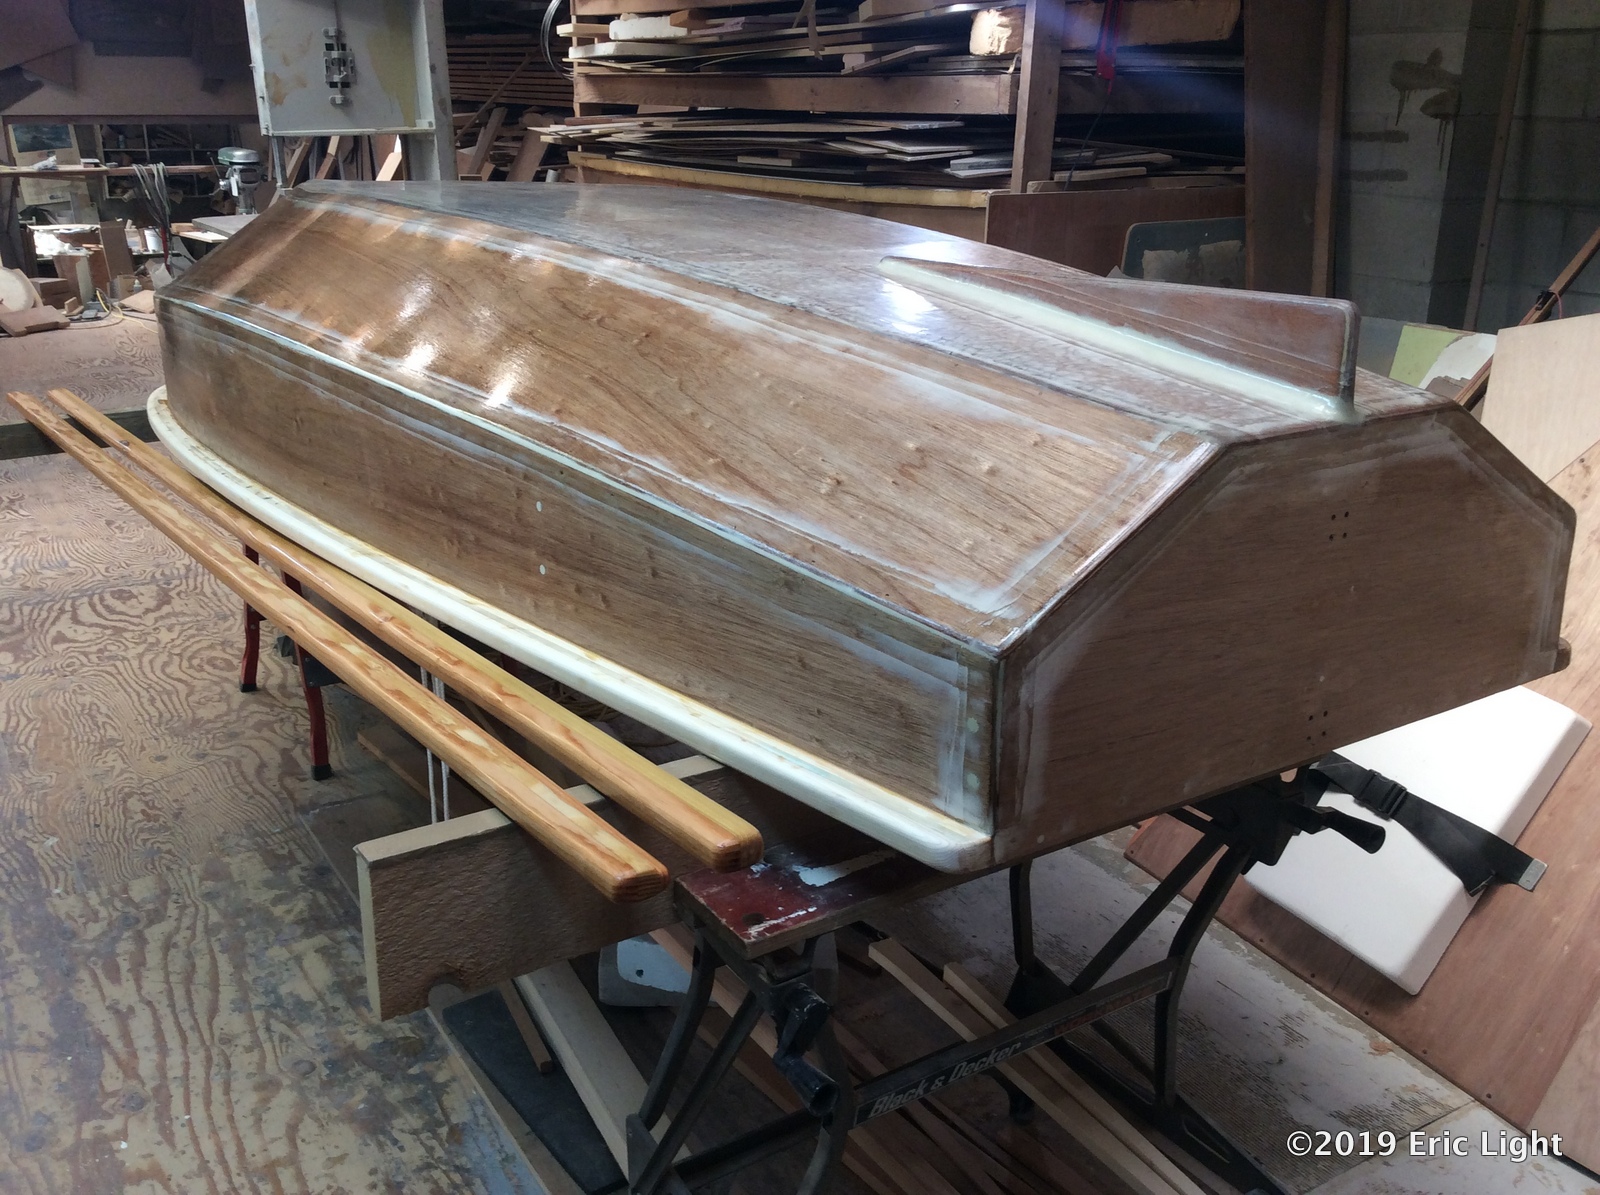
So I ended up putting a coat of epoxy on top of the whole mess:
It'll be a pretty durable bottom, anyway, and my arms are much stronger from all the sanding. 💪