Wednesday, 22 June 2016

Official launch

A few friends were on hand for the "real" launch at Oak Bay. Here's Golightly ready to roll down the ramp:
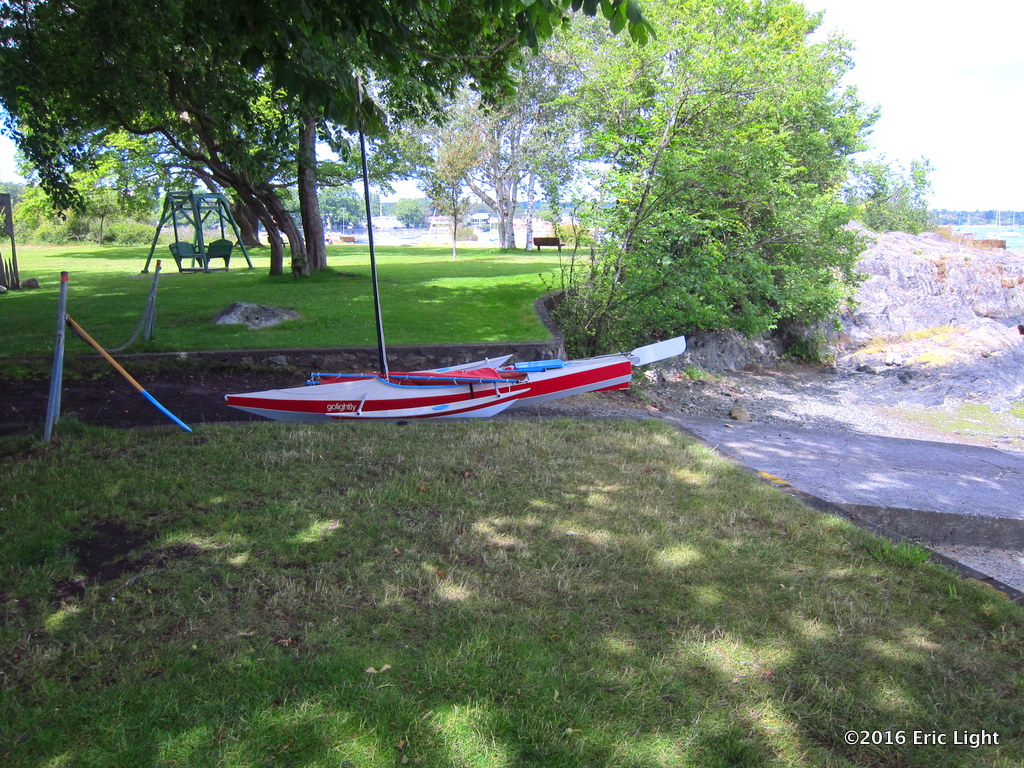
And still high on the cart:
Heading out, ghosting along:
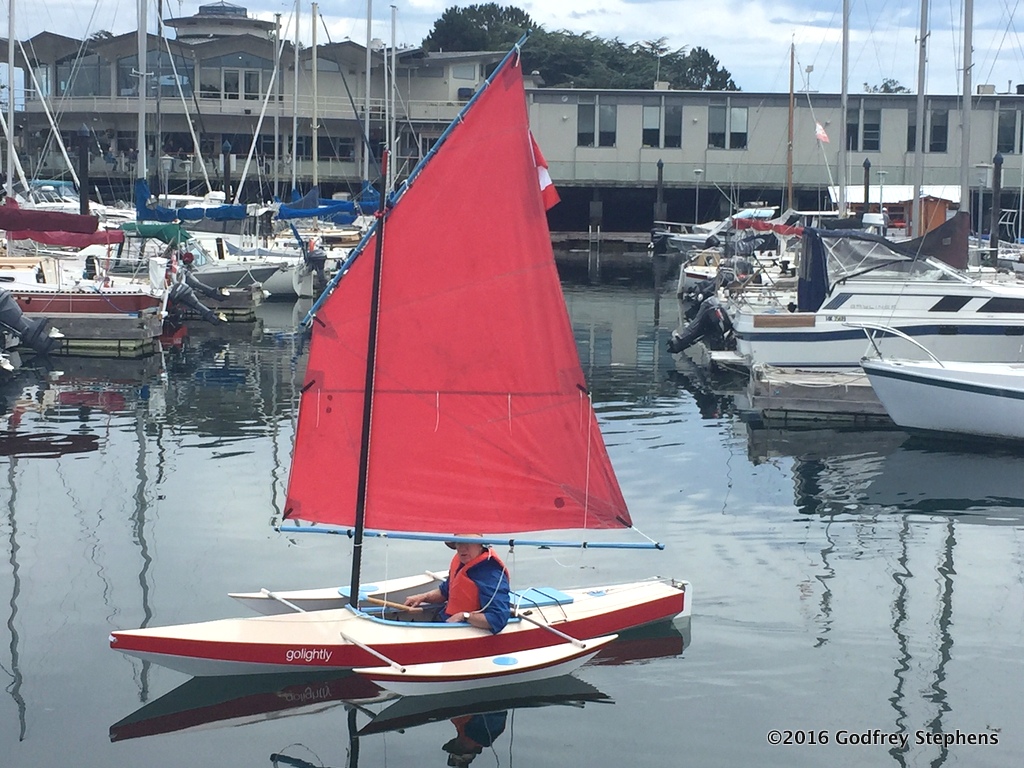
Looking for the wind:
Checking to see how relaxed I could be sailing:
Not enough wind to fill out the sail here.

Returned and waiting for the ramp to be clear:

What I've learned
• The amas are too small. It doesn't take much wind to send them under!
• I can, with my bad back, manage getting the boat on and off the car.*
This was a big question for me, which was answered today.

So
• Back to the drawing board before sailing in any wind.
• I'll be paddling for now.

The build has been a worthwhile effort. I'm going to relax awhile before making new heavy-weather amas.


* To get the boat off the car, I turn it and set the stern on the ground beside the car. Then I strap the wheels to it. Then lift the bow off the car and down she goes onto the wheels. On is the reverse.


Sunday, 19 June 2016

Pre-launch sortie

Vidas helped to get the boat down from the loft at John's shop. It went better than I had anticipated. Here she is, first time in the open air, ready to hit the water (only one ama fits on top with the main hull):
Thankfully, the only day John had to do this with me (I think he wanted to make sure that whatever was coming out of his shop met his demanding standards ;-) was sunny, with a light wind and no waves.

For the first part, I wanted to see how she worked as a simple kayak, so just put the rudder on and left the rest on the dock:
I know, I look like such a dweeb! The silly lifejacket doesn't help much.
The boat is quite stable as a kayak, and performed very well.

Then, the trimaran was put together on the dock:
The onlooker is a fisheries guy who was on the job getting the Creel stats from in-coming fishers. He was very interested in the boat. It was quite busy at the facility with sport fishermen coming and going.

She sailed quite well, steered well and tacked well.
I had forgot to install a downhaul line, so in the pic above I'm rigging a substitute.
I went outside of the little harbour here and caught some real wind for a few minutes, and it was good. John likes that the amas just barely touch the water at rest. I found that just leaning to windward was a good righting factor.

Official launch party is tentatively planned for tomorrow (Monday, June 20) at Oak Bay public ramp, 10:00 am. Unfortunately, a pretty low tide. But hopefully I'll have some bodies to help carry to the water from the ramp.

Thanks again to John Booth, who made this adventure possible. I'm going to be (happily) working off my debt to you over the next few months...  -e.


Saturday, 18 June 2016

Skeg shoe, new weight

When I put the cart under the boat I lifted the bow, and noticed that the bottom tip of the skeg was taking all the weight of the boat. So I made a skeg shoe—more like a toenail, really—out of aluminum:
Aluminum is a good choice, as it tends to be grippy. If you've ever tried to drag an aluminum boat across rocks you'll know what I mean. And the piece is wedge-shaped at the back, so presumably it'll dig in and keep the boat from sliding away from me as I lift.

New Weight!

That's 49 pounds now, hull and hatch covers.


Thursday, 16 June 2016

Boat cart

I got the idea for this design from photos someone shared on the internet. John made it possible with his welding skills. It folds for storage, is very light, and the wheels come off if I want to make it an even smaller package.
The wheels are from a kids' stroller; I'm looking for something a little more heavy-duty. Meanwhile, we'll see how this thing works out. After I took the photo above, I added straps and a buckle to attach it to the boat with, although in my little test in the shop the boat didn't move around in the cart.
I'm thinking I might be strapping this on when the boat is still half-way on the car.
(The blue boat bumper is for lumbar support.)


Tuesday, 14 June 2016

Named

The lettering was done in my computer graphics program and sent as a digital file (.svg) to the sign company, who did it same day.
 Stick-on vinyl lettering is so much less time and hassle than painting the name on! Remove backing, stick down, remove carrier film, rub down a bit more, done. Trick is to tape it on in the right spot and then cut half the backing off... stick the now backless side down, remove tape and other half of backing, and stick the remaining side down.

FYI, the font is Helvetica Neue; light for "golightly" and fine for "VICTORIA". (The word VICTORIA is 1.4" high.)

BTW, I have painted signs commercially. By hand. Olden days.


Saturday, 11 June 2016

Sail, rudder, etc.

Because there's no headroom where I am in the shop, I can't put the mast up in the boat. So I took it outside and clamped it to a metal structure and hauled the sail up, to see what it will look like:
And, with a reef in:
That must be close to half the sail area taken in. (The jiffy reefing lines aren't on yet.)

Meanwhile, back in the shop, I ran through the set-up from kayak to trimaran, and found I had to do some adjusting. Here's how she looks:
From the cockpit I won't be seeing any red—too bad! Maybe I'll come up with another way to distinguish between the amas. Or discover they can go on either side. Or decide I need to make larger ones...
Looks pretty sharp from outside, though! The stub from the shortened mast is standing in for the mast here. Hopefully the mast will fit in the partners. I made a bit of a collar to spread the load so the ropes don't make pressure points on the mast:


The rudder and all its lines!

I'm quite happy with the way the rudder turned out. It didn't look like I was going to have an up-haul, but it worked out very well:
The steering lines have a 2:1 purchase by going through the rings on the yoke. This makes steering easier, and lets me make minor adjustments more easily, since the line needs to be moved twice as far as a direct pull would. By a happy accident (I was looking for it) the clip-hooks on the ends of the steering line fit through the rings on the yoke, so I can take the rudder off without having to undo any knots.

Blade up:
And down:
On the left below, the up-haul has a simple jam cleat. On the right, the down-haul has a quick-release cleat (if the rudder hits something, the cleat releases the line). Both lines have a cork on their cockpit end, which cannot fit between the aka and the after deck to escape, so they won't get lost.
BTW, the steering line works very well; smooth and easy with no hint of drag.


Sunday, 5 June 2016

Mast heel

The heel of the mast is an aluminum tab that was glued into a slot in a piece of yellow cedar, which was glued in to the base of the mast. A bolt will hold the mast in place in the mast step I described earlier, two angled pieces of aluminum. The holes in the step allow the mast to be raked fore or aft as may be necessary. If you have lee helm, you rake the mast back so that the centre of the sail lines up better with the leeboard, until you get a neutral or preferably slightly weather helm.
The cleats are screwed into the wood core. One is for the halyard, the other is for the downhaul. The black webbing on the spar is what I'm attaching the sail corner to.