Saturday, 2 August 2014

Toe & rub rails, decktodes & a shelf


Starchy came over and helped me with the port rub rail. It went on well. The toe rails I put on a couple of days ago are the originals, sanded and painted. All has to come off, to get bedded with Sikaflex as it goes back on again.

 The half-round will go on the outside and cover the screw heads, mostly.
The decktoads are just sitting there yet, as toads are wont to do. They'll be fastened from beneath with ¼" screw bolts with fender washers and bedded with Sikaflex as well.

My happiest accomplishment today, though, is this little shelf I made in the foc'sle, from the table that came with the boat. Maybe I'll regret some day not having that table, but right now it's the apple of my eye as a shelf:
I'm considering putting a lip on its after edge, but also thinking of some kind of netting or some other way of making containment possible, so that things don't move off that after edge in a sea. Ideally, a bulkhead would go there, with water-tight hatches to access the interior, but that's beyond me right now.


Friday, 1 August 2014

Tiller, decktoads, cleats

The tiller is getting varnished in the cabin of Firefly, hanging from a line. I think it has four coats now, on top of one coat of S1 sealer (thanks, Godfrey!). I might put six coats of varnish on altogether. Or I might lose track and not know just how many coats...
(Notice that Firefly is not level, as the lot is slanted.)

Not seeing the curvature in the length here; that will have to be another day.

I bought a nice piece of fir from the Finishing Store, ½" x 3" for the rub strip, which John Booth sliced for me into two lengths (16') that were 1" on one side, and 2" on the other:
Thanks to John's skill, both pieces are identical. It's a bit tricky to set the saw up so that you get equal pieces on each side of the blade kerf.

A ¾" half-round will bring the total width out. Putting two smaller pieces on such a curvy boat will be easier than one larger piece. Although—even the larger piece of these is much more supple than I thought it would be.

The shape is designed so that when the boat comes down against a dock, there's not much to catch on.

The rub rails won't reach all the way to the stem, but the bow is so high they're useless there anyway. They will be the same chocolate brown as the rudder, the doors and the toe rails.

This is how I set up the half-rounds to make bevels for scarfing, to get the right lengths:

I made the bevel with a grinder, free-hand. It was acceptable. I didn't want to spend too much time on it.

I re-shaped the deck toads, as I'm now calling them. They're bases or sockets for the pipes that will hold up the cockpit tent. Aka decktodes. (Did you see the movie Cane Toads?)

Positioning the stern dock cleat:
That's not where it finally went. I put them close to the aft corners, backed up with a piece of ⅜" ply under the deck, tight fit between stringers, transom, with lots of epoxy goop. There are four ¼" bolts per cleat.


Sunday, 27 July 2014

Seeing red

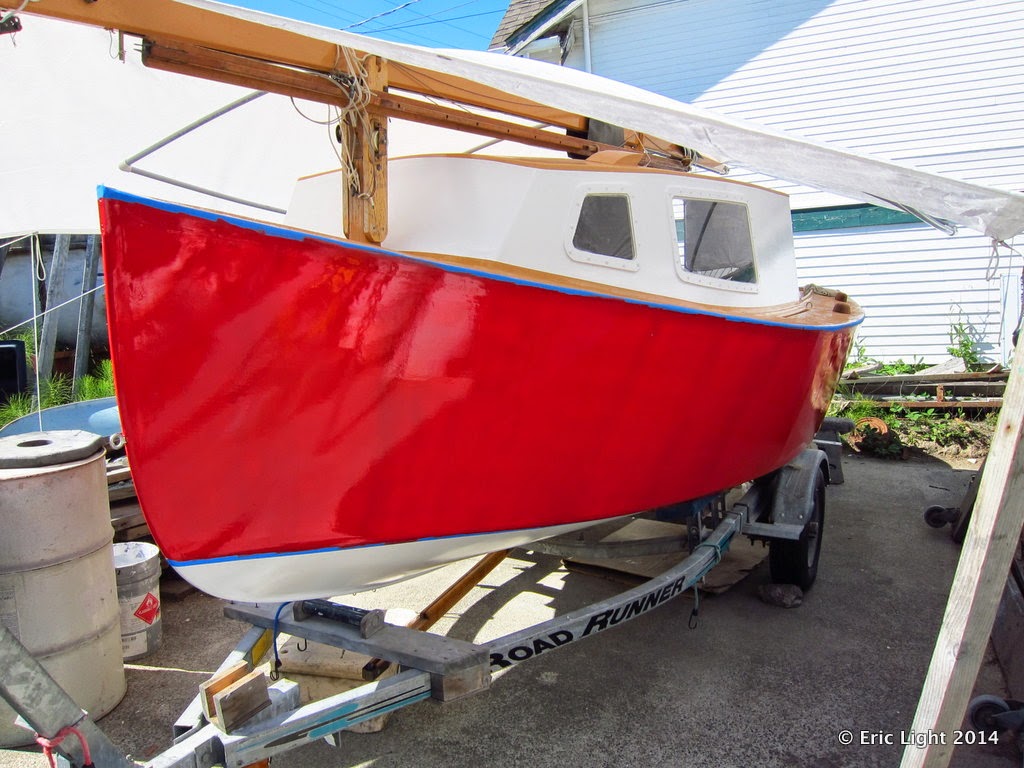
Now there are two red hulls!


I'm starting to get excited!


Saturday, 26 July 2014

White cabin, brown doors

The whole cockpit has been re-painted now. Buff is Brightsides, white is Easypoxy (as will be the red), brown and grey are Rustoleum.

Three coats of white on the cabin sides meant I could take off the tape and see what it looked like. I like it! Now, try to imagine red topsides...

Those tapeless cabin sides. The inside of the brown doors are white.

It seemed like a good idea at the time... guess ya hadda be there.


Thursday, 24 July 2014

Cockpit, deck, colours


John convinced me that I should fix up the rest of the central area of the cockpit floor, especially the limber holes. So I did.

Non-skid on the decks:

Aft face of cabin painted:

I like how the colours go together. I wasn't sure of the darker, bluer grey, but I see that it goes well with the "sundown buff":
Those doors will be chocolate brown.
Ready for a white cabin?

Let there be white!

Finally realized that the transom should be white, too. I was going to paint it the same buff colour as the decks, etc., but saw that it would be too much buff. So white it is, the white coming up from the bottom panels.
I find it hard to imagine what a part will look like if it's a different colour, but I think the colours are coming together well anyway. The sides will be brilliant red.

Sunday, 13 July 2014

Cockpit

I started the day today by vacuuming the whole interior of the boat. Yes, there will be some sawdust flying yet, but we're coming down to the wire and the boat needs to transition from a workshop to a boat!

Then, I was so curious to see all that was under the cockpit floor board, that I pulled it up. The trick to that is that the cockpit bench tops overhang and get in the way of pulling the floor board up, so the bench tops needed to be taken off and stashed. But then all the stuff that had accumulated on them had to get cleaned up and sorted away first.

I forgot to take a photo before I started in with the cleaning, but remembered before too long:

You can see water stains, like here:
and here:
Haunted by the bull of Pamplona?
I didn't like the look of that corner; there were too many needles sticking out. I'm sure it was watertight, but I wanted to clean it up anyway.
It turned out that there was a bit of a lip that had a void under it, so I ground the wood off even, and put in a fillet with 9-oz cloth over it:
That's all I'm doing in the cockpit for now; the rest looks good. If I make the alterations I'm thinking of (self-bailing cockpit), this might change anyway.
The ring in the foreground is something I put onto the inside of the eye bolt that makes the upper gudgeon. I decided that, rather than saw the extra inch off, I'd make use of it. Who knows...

After the cockpit was cleaned out, I sanded and painted the floorboard, the little step-boxes just ahead of the cockpit benches, and the after end of the floor itself, as the floor board doesn't cover it all. Also put the second coat of white on the window frames outside. Finished around 7 pm.

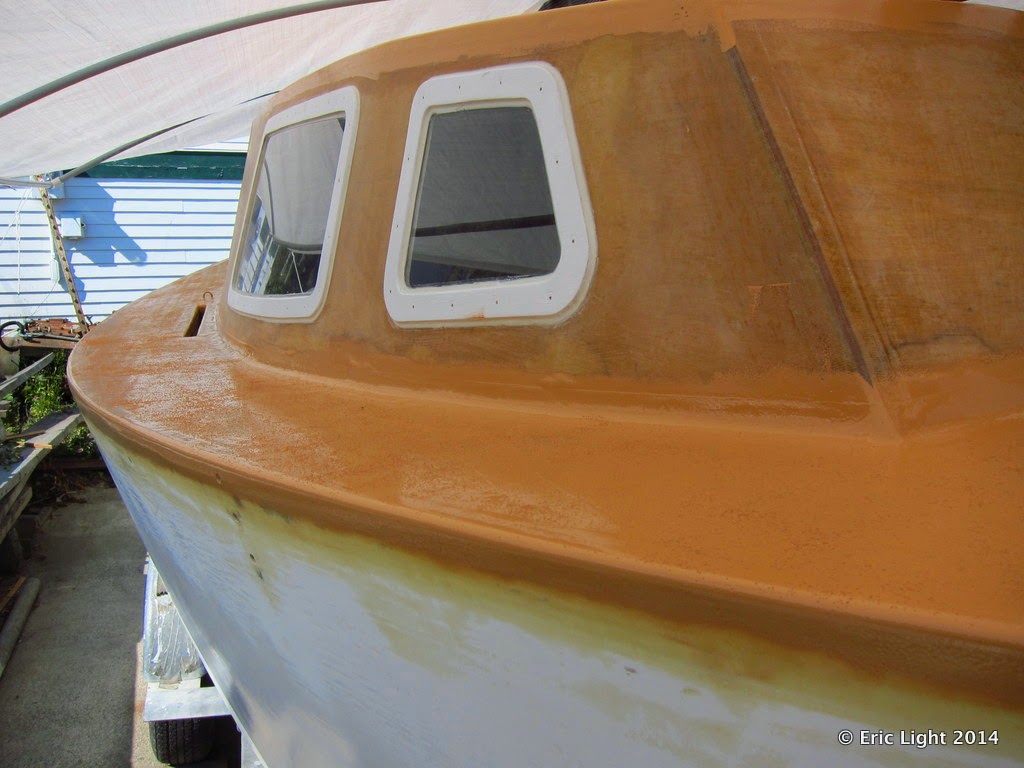
I'm considering painting the cabin doors dark brown, like the rudder, and the after side of the cabin the orangy wood colour of the mast, the cabin top and the yet-to-be-painted decks. The transom also will be that colour. I'm trying to get all of one colour ready so that I can do it all with one opening of the can and one roller and tray cleaning. The white on the cabin sides will go on next. Three coats each colour.

It's very pleasant working under the new tarp. Because it's open-sided, there is good air flow, nice breezes.


Friday, 11 July 2014

Some interior work, new tarp

A photo to show the bow cleat backing board and plate, as promised in an earlier post:

Starchy came over and helped me fasten some strengtheners on the inside of the cabin. This solved the problem of the delaminating ply on the starboard side.
 The port side was done as well, to keep things balanced.
We also put in backing pieces behind the main chain plates:


The tiller is coming along:

I took the following photo because I liked the port and starboard boats:
Little did I know that that would be the last time she sheltered under that tarp!
I started to make a sun shelter to paint under, and realized that: 1) It was going to be permanent; and 2) The old tarp was in the way and I had to let it go. It really was deteriorating: little green shards an eighth of an inch long were raining down constantly, making it unsuitable to paint under.

The new tarp was originally purchased to build the boom tent out of. The idea to rig it up as a sun shelter sort of happened organically as I put one foot in front of the other in the baking sun.
It's held up by the ½" PVC pipe that I bought for the boom tent (plus some more purchased for this tent), and it's strung out to various solid things in the yard, including the trailer for the Thunderbird.
The PVC pipe is connected together with elbows and tees, and the cross-pieces are tied to the mast.
There's room to walk under it, and it's almost high enough to comfortably paint the cabin top under.